Tues March 1 4-5:30 in room 205 SH.
Author Archives: Nancy Van House
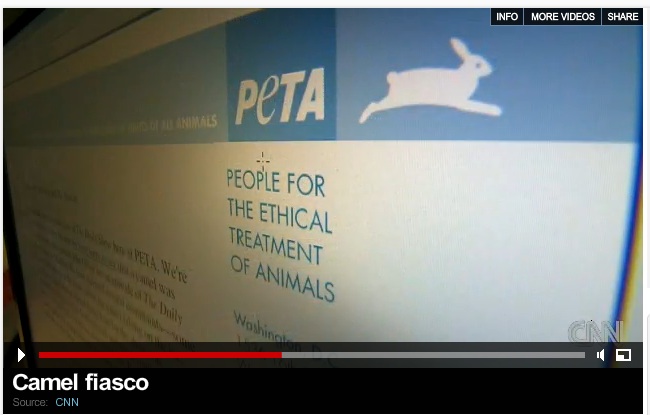
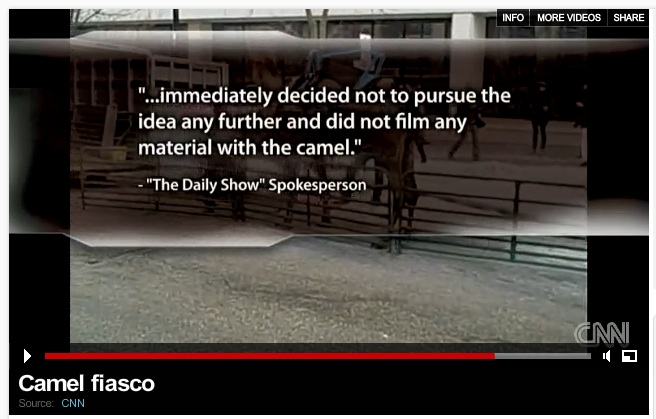
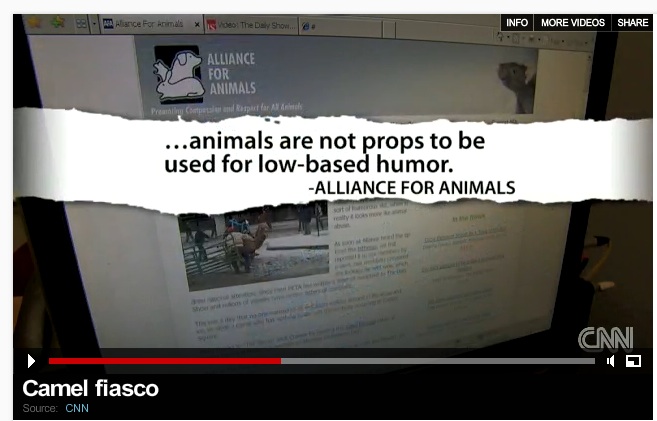
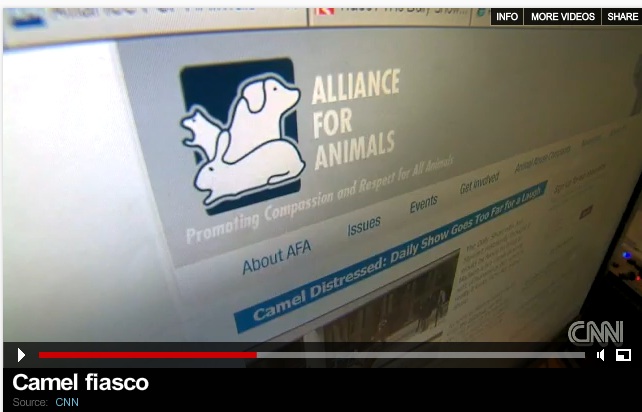
A way to make web shots interesting
What struck me about these shots — stills from a CNN video — is how they made interesting pictures of what could have been simple shots of websites. More generally, the point is that it’s worth looking at a lot of visual material to look for ideas about how to make images more interesting. (Yes, when I’m bored I do watch silly videos, and not all of them are cats.) The one quoting a Daily Show spokesperson has a video in the background. Note also that 2 websites used in the same report (PETA and Alliance for Animals) are taken from different perspectives, adding a little more interest to the video.
Videos
I connected several older, unedited videos, all of which I made with my dSLR, from my Flickr stream to the group to demonstrate:
- video as extended moment
- video as panorama — extended place
- sound — remember that your video recorder is also a sound recorder.
Video – Practical Advice
Goodwin, C., 1993. Recording Human Interaction in Natural Settings. Pragmatics 3, 181-209.
Yes, the same Goodwin. Really good, practical advice on making video as part of a research project. Technology is dated, but the nitty-gritty advice is still highly relevant. Ranges from how many cameras and where to put them to how to log your video and summarize the contents.
Meetings on Projects
I realized when I laid out the schedule for last Wed, and saw the project descriptions that had been posted, that we couldn’t get very far in discussing projects in class. Also, it would be useful to talk with you individually, since this class is a little, well, different, and so are the projects.
So I’d like to meet with each of you individually — for the people working together on projects, I’ll meet with you together.
Please sign up here.
http://www.wejoinin.com/sheets/qfzav
Please cluster the meetings if possible — don’t leave holes in the schedule if you can avoid it.
If none of these times works for you, email me and we’ll work something out. I’m at an off-campus meeting all day Thurs and Fri.
Flickr Group Created
I’ve created a Flickr group called
i290 viz narrative
It’s a public group, meaning you don’t need an invitation to join. Just search for the group and then join. Then you have the option of posting images and short (<90 second) videos to the group. We’ll use this for sharing images and short videos — easier than the course blog.
Feel free to post *anything* you’d like the rest of us to see.
FYI, videos can take a long time to upload, but are easy to view.
iPhones, Apps, and “Serious” Photography
More about the Hipstamatic images that made the front page of the NY Times
From the NYTimes Lens Blog:
Damon Winter of The New York Times has won third place for feature picture story from Pictures of the Year International (albeit anonymously, for the time being) with photographs taken on an iPhone using the Hipstamatic app. Critics have pounced. The debate over the propriety of using apps, already hot, is intensifying.
Make Images on your Way to Class 2/9
On your way to class — somewhere between your bed and room 205 SH — take 3 pictures to share with the rest of us that say something about your morning. (Of course you can take more and pick the 3 you like best — the point is to produce 3 to show the rest of us.) Use whatever camera you’re bringing to class, which will likely range from dSLR to cameraphone. We’ll either transfer images from your camera or card to our laptop, or plug your laptop into the projector. People’s skills range a lot, so don’t stress out over this! The only way to learn to do photography is to DO photography.
Class – How To – Follow-up
Some basic points:

We talked about The Exposure Triangle. Here’s a good article.
Shutter Speed
Here’s a good article on shutter speed.
Most people can’t hand-hold at less than 1/60th of a second — the picture is blurred by your own movement. Some ways to make up for this in low light situations:
- Tripods — from big to small — gorillapods come in all sizes.
- On a tripod, a time-delay shutter will help to avoid the jiggle from you pushing the shutter release
- Brace yourself to stand still, and hold the camera close to your body
- Brace the camera against anything — table, doorframe
- Rapid fire multiple shots, if your camera can do this — the middle shot is likely to be the clearest
You DO want to pay extra for image stabilization (IS) — in the camera (point and shoot) or the lens (dSLR). It makes a difference!

Exposure Compensation
We began talking about exposure compensation — many cameras allow you to bump the exposure up (brighter) or down a little (darker) while basically staying in automatic mode. The images with this article demonstrate the results. The easiest cameras to use are those with a dial for this, like the one shows here, but many small cameras have this somewhere in the menus.
Flash
On-camera flash is to be avoided if at all possible because
- It usually only works for about 10 feet or less;
- You often end up with a too-bright subject against a too-dark background;
- That kind of flat, straight on light is ugly (and makes people look ugly!)
You can use a simple piece of paper to diffuse the camera’s flash so you don’t get such a deer-in-the-headlights effect. (Thanks, Bryan!)
The one time it IS useful is for filling in dark places in the image — notable, shadowed faces.
(In the 2nd example, below, the flash isn’t actually on the camera but coming in from the side — but this demonstrates the idea.)

No flash

with flash fill
Good Series of Local Short Films
Berkeleysider has a piece about these films about Berkeley’s school lunch program: Lunch Love Community. I watched the one on Flaming Hot Cheetos — well done, and a lot of interesting effects, along with a good story told well. (I guarantee you’ll never again eat a Cheeto guilt-free.)