Video: https://www.youtube.com/watch?v=Pf1nZoAFWvA&feature=youtu.be
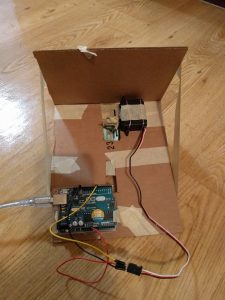
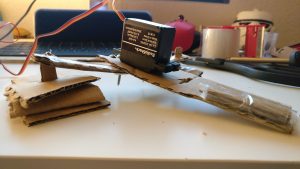
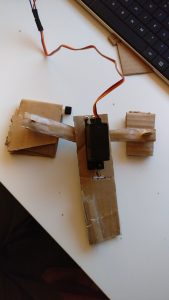
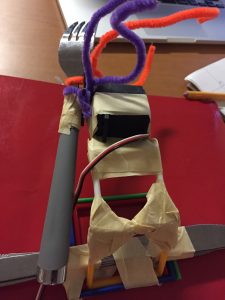
For this assignment I happened to have a 3D-printed arm in a box in my room (what?), so I set about programming it to crawl forward in a straight line. The arm is made from 3D-printed finger joints, metal wire, a plastic housing, and some zip-ties and a laser-cut servo protector. It wasn’t originally designed to crawl forward along carpeted surfaces, but with a little bit of retrofitting it does the job nicely.
Materials:
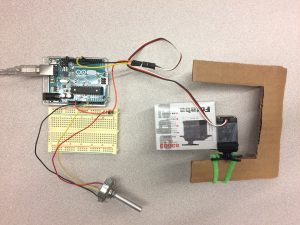
- Servo Motor
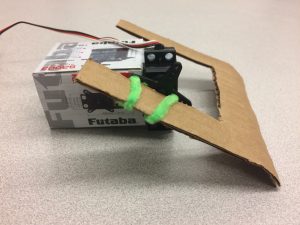
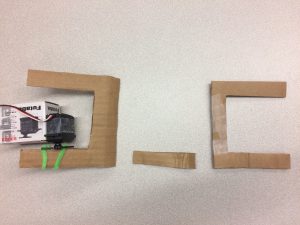
- 3D-printed lobster tail
- Arduino Uno
- Lead wires
- 4 AA batteries
- Battery holder
- Steel cable
- Hot glue
- Zip ties
Code:
/* Sweep
by BARRAGAN <http://barraganstudio.com>
This example code is in the public domain.
modified 10/19/2016
by Adam Hutz
http://www.arduino.cc/en/Tutorial/Sweep
*/
#include <Servo.h>
Servo myservo; // create servo object to control a servo
// twelve servo objects can be created on most boards
int pos = 0; // variable to store the servo position
void setup()
{
myservo.attach(9); // attaches the servo on pin 9 to the servo object
}
void loop()
{
for(pos = 0; pos <= 110; pos += 1) // goes from 0 degrees to 180 degrees
{ // in steps of 1 degree
myservo.write(pos); // tell servo to go to position in variable ‘pos’
delay(8); // waits 15ms for the servo to reach the position
}
for(pos = 110; pos>=0; pos-=1) // goes from 180 degrees to 0 degrees
{
myservo.write(pos); // tell servo to go to position in variable ‘pos’
delay(8); // waits 15ms for the servo to reach the position
}
}